Best Practices for Proper Roof Flashing Installation
Ensuring proper roof flashing installation is one of the most important steps in preventing roof leaks and minimizing the need for roof flashing repair. Even minor errors in flashing placement can result in water seepage, mold growth, and costly roof repair or even roof replacement.
The U.S. Department of Energy emphasizes that rain leaks through exterior walls are often a result of improper installation of siding materials and poor-quality flashing, leading to moisture problems within walls. This highlights why high-quality flashing materials and proper installation techniques are essential for protecting not just the roof but the entire structure of a home.
By selecting durable materials, ensuring proper overlapping, and sealing all joints correctly, homeowners can significantly reduce the risk of roof leaks and structural water damage.
Choose the Right Material
Selecting the appropriate flashing material is crucial for durability, weather resistance, and compatibility with the roofing system.
- Galvanized Steel: One of the most commonly used materials in roof flashing repair, galvanized steel is both durable and cost-effective. However, it is prone to rust over time if not properly maintained.
- Aluminum: Lightweight and naturally corrosion-resistant, aluminum flashing is ideal for coastal or humid environments where moisture exposure is high. However, it may not be as strong as other metals.
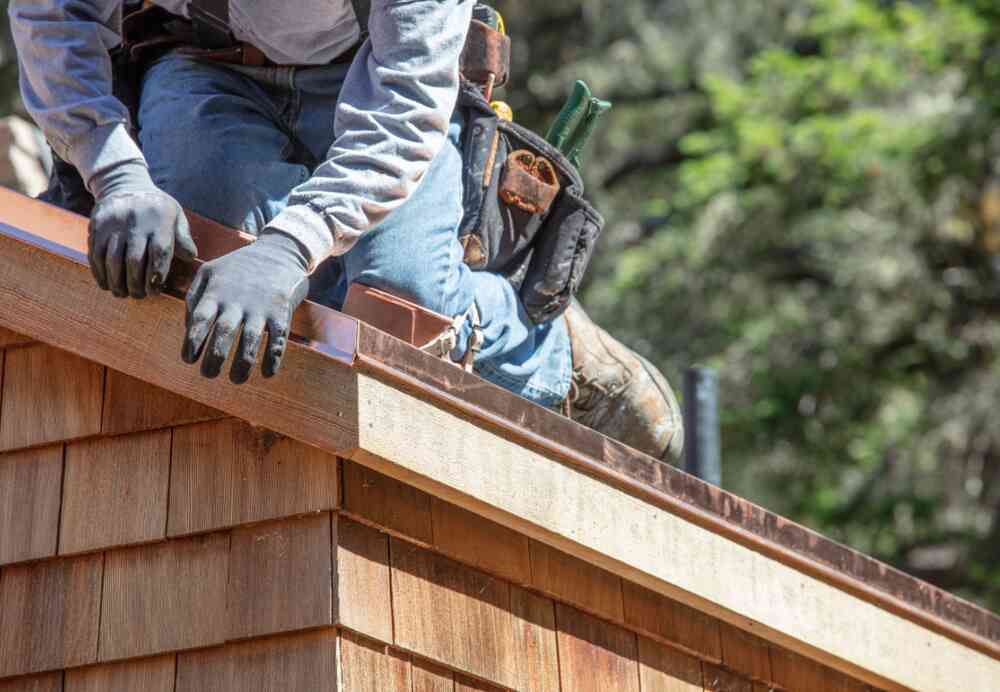
- Copper: Known for its longevity and natural resistance to corrosion, copper is a premium choice for roof flashing installation. It is highly durable but significantly more expensive. Over time, copper develops a patina that enhances its resistance to the elements.
- Lead: Frequently used around chimneys due to its flexibility and water resistance, lead flashing is a preferred material for complex installations. While effective, it requires proper handling due to its toxicity.
Ensure Proper Overlapping
Correct overlapping techniques help create a continuous waterproof barrier that prevents water from infiltrating beneath the roofing surface.
- Maintain a Minimum Overlap: Flashing sections should overlap by at least 2 to 4 inches to direct water flow away from seams.
- Layer Flashing Correctly: Flashing should always be installed in a way that directs water away from the roof’s vulnerable points. For example, step flashing should be layered between shingles to prevent water intrusion.
- Avoid Gaps and Misalignment: Any gaps in overlapping flashing pieces create potential entry points for water, increasing the likelihood of roof leak repair needs.
Secure with Correct Fasteners
The choice of fasteners plays a critical role in the longevity and effectiveness of roof flashing.
- Use Corrosion-Resistant Fasteners: Stainless steel, galvanized, or copper nails are ideal for securing flashing, preventing rust and premature failure.
- Avoid Overdriving Nails: Driving fasteners too tightly can damage the flashing or cause buckling, which may lead to roof leaks over time.
- Space Fasteners Evenly: Secure flashing with a consistent nail pattern to ensure stability and prevent wind uplift.
Seal Joints and Edges Properly
Proper sealing is essential for ensuring a watertight roof system and reducing the need for roof flashing repair.
- Use High-Quality Sealants: Polyurethane or silicone-based sealants are recommended for long-lasting protection. Avoid generic caulking products, as they degrade quickly under UV exposure and extreme weather conditions.
- Apply Sealant Generously but Neatly: Ensuring complete coverage of seams and edges prevents water infiltration. However, excessive use of sealant can trap moisture, leading to potential damage.
- Check for Deterioration Regularly: Over time, sealants can dry out or crack, requiring reapplication to maintain waterproofing effectiveness.
Follow Manufacturer Guidelines
Each roofing system and flashing material comes with specific manufacturer recommendations to ensure optimal performance.
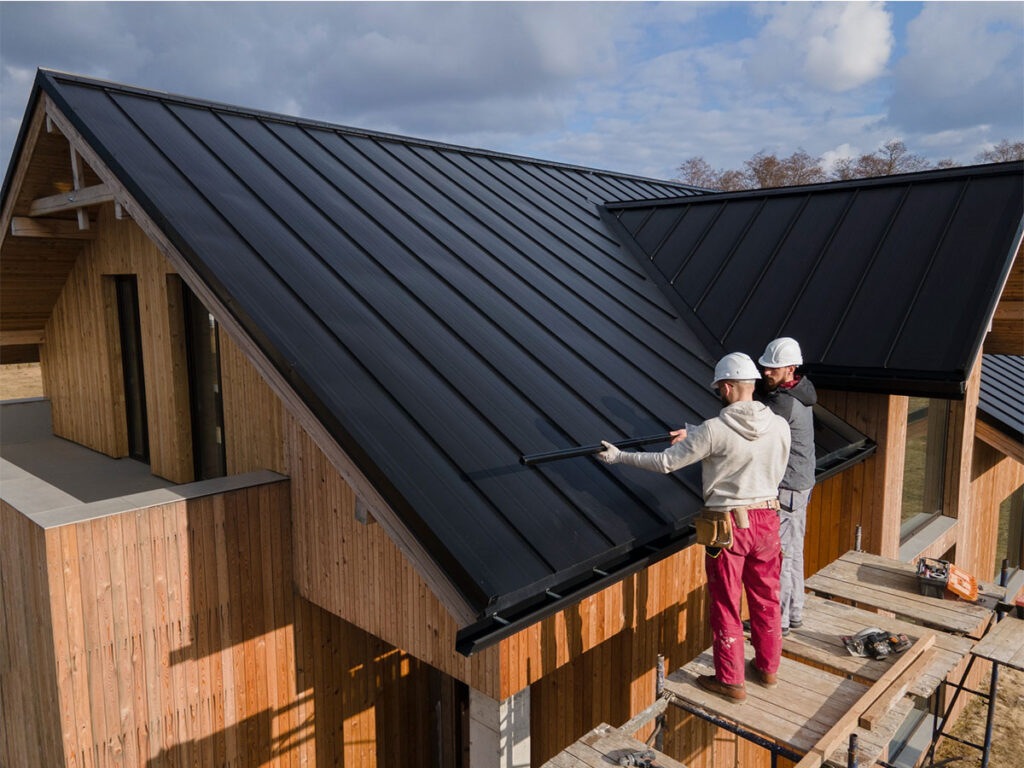
- Match Flashing with Roofing Material: Some roofing materials, such as metal roofs, require specific flashing types and installation techniques.
- Adhere to Local Building Codes: Many regions have regulations regarding flashing installation. Following these codes ensures compliance and prevents future legal or insurance issues.
- Use Approved Adhesives and Fasteners: Some manufacturers recommend specific adhesives or fasteners to prevent compatibility issues and ensure durability.
How to Choose the Right Roofing Contractor for Flashing Installation
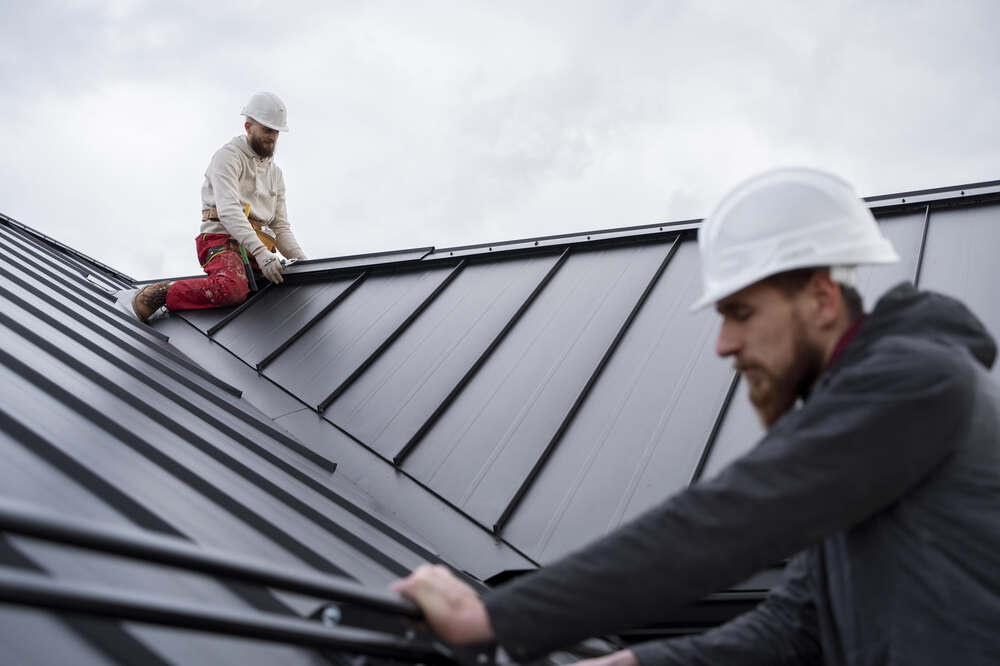
Proper roof flashing installation requires expertise, precision, and knowledge of roofing materials and techniques. Even minor errors can lead to roof leaks, premature roof repair, or even the need for a full roof replacement. Selecting a skilled roofing contractor is essential to ensuring flashing is installed correctly and preventing costly roof flashing repairs in the future.
Check Licensing and Insurance
Hiring a licensed and insured roofing contractor provides protection and assurance that the work will be done professionally and in compliance with local building codes.
- Verify Licensing: A reputable contractor should be licensed to operate in the area. Licensing requirements vary by state, but a certified roofer demonstrates that they have met industry standards and training requirements.
- Confirm Liability and Worker’s Compensation Insurance: A contractor should have both liability insurance (to cover property damage) and worker’s compensation insurance (to cover injuries on-site). Without insurance, homeowners could be held financially responsible for accidents or damages during the project.
- Ask for Proof of Credentials: A reliable roofing professional will have no issue providing documentation of their licensing and insurance policies.
Look for Experience in Flashing Installation
Not all roofing contractors specialize in flashing installation, and hiring someone without proper expertise can result in roof leaks, frequent roof flashing repair, and even premature roof replacement.
- Inquire About Flashing Experience: Ask the contractor about their experience with different flashing materials, such as aluminum, copper, and galvanized steel.
- Assess Knowledge of Complex Flashing Installations: Some flashing applications, such as those around chimneys, skylights, or dormers, require advanced skills to ensure a waterproof seal. Ensure the contractor has worked on similar installations before.
- Check for Certification from Roofing Manufacturers: Some roofing contractors receive special training and certification from manufacturers, ensuring they follow best practices for flashing installation and roof repair.
Read Reviews and Ask for References
Customer feedback is one of the best ways to evaluate a contractor’s reliability, work quality, and ability to prevent roof leaks.
- Check Online Reviews: Platforms like Google, Yelp, and the Better Business Bureau (BBB) provide real customer insights into a roofer’s reputation.
- Look for Consistency in Reviews: A few negative reviews are normal, but frequent complaints about poor workmanship, unfinished projects, or lack of communication are red flags.
- Request References from Past Clients: A reliable contractor should be able to provide references from previous customers who had roof flashing repair or installation services.
- Ask About Timeliness and Communication: Contact previous clients to ask whether the contractor completed the project on time, stayed within budget, and maintained open communication.
Request a Detailed Estimate
A professional roofing contractor should provide a clear, itemized estimate that outlines the full scope of work, including materials, labor, and potential additional costs.
- Ensure Transparency: A well-prepared estimate should break down all costs associated with roof flashing repair, including materials, installation, and disposal of old flashing.
- Look for Hidden Fees: Some contractors may include additional charges for unforeseen repairs or extra labor. Clarify what is included in the estimate before signing a contract.
- Compare Multiple Quotes: Get at least three estimates from different roofing professionals to compare pricing, expertise, and service offerings.
Confirm Warranty and Service Guarantees
A trustworthy roofing contractor should stand by their work by offering warranties on both materials and labor.
- Ask About Manufacturer Warranties: Many flashing materials, such as aluminum or copper, come with manufacturer warranties that protect against defects.
- Check for Workmanship Warranties: A reputable contractor should offer a warranty on installation, ensuring protection against premature roof leaks or roof flashing repair needs.
- Clarify What the Warranty Covers: Some warranties cover only materials, while others include labor and repair services. Get everything in writing to avoid misunderstandings.
Frequently Asked Questions
How do I know if my roof flashing needs repair?
Signs of roof flashing issues include visible rust, cracks, or gaps where the flashing meets the roof. Water stains on ceilings, mold growth near the roofline, or leaks around chimneys and vents are also indicators. Regular inspections can help catch these problems early before they lead to costly repairs.
Can roof flashing be repaired, or does it need to be replaced entirely?
Small cracks, minor corrosion, or loose flashing can often be repaired with sealants or patches. However, if the flashing is severely rusted, bent, or improperly installed, a full replacement may be necessary. A roofing professional can assess whether a repair is sufficient or if a new installation is the best long-term solution.
What are the common causes of roof flashing failure?
Improper installation, where flashing is not sealed correctly, can lead to premature failure. Exposure to extreme weather, including heavy rain, snow, and strong winds, can cause flashing to deteriorate over time. Additionally, thermal expansion and contraction of roofing materials can loosen flashing, creating gaps that allow water to seep in.
How often should roof flashing be inspected?
Roof flashing should be inspected at least twice a year, ideally in the spring and fall. Additional inspections should be conducted after severe storms or high winds, as these can loosen or damage flashing. Regular checks help prevent leaks by catching minor issues before they turn into major problems.
Can I perform roof flashing repair myself, or should I hire a professional?
Simple repairs, such as applying sealant to small cracks or reattaching loose flashing, can be done by experienced DIYers. However, for more complex repairs or full replacements, hiring a professional is recommended to ensure proper installation and long-term durability. A professional roofer has the expertise to prevent future leaks and structural damage by installing flashing correctly.
Get Expert Roof Flashing Repair with Roofing Contractor of Addison in Glastonbury, CT!
Proper roof flashing installation is essential to prevent roof leaks, reduce the risk of costly roof repair, and extend the life of your roof. If you suspect your flashing is damaged or improperly installed, trust Roofing Contractor of Addison to provide professional, high-quality service in Glastonbury, CT. Our experienced team ensures flashing is installed and maintained correctly to protect your home from water damage. Residents of Glastonbury, CT can rely on Roofing Contractor of Addison for expert roof flashing repair, inspections, and full replacements.
Don’t wait until a small issue turns into expensive damage—schedule your inspection today with Roofing Contractor of Addison in Glastonbury, CT!